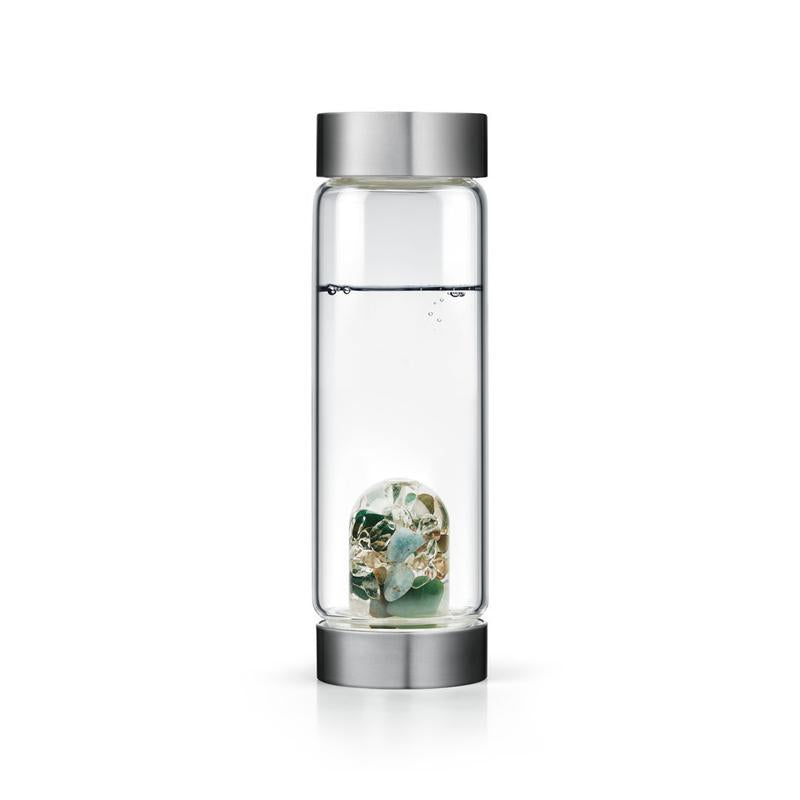
As an avid traveler, having a reliable and sturdy water bottle is crucial to staying hydrated on the go. While there are a plethora of options available on the market, one factor that often gets overlooked is the visual appeal of the bottle. This is where the art of 3D rendering comes in, allowing designers to create stunningly realistic representations of products. In this tutorial, we'll be exploring how to render liquids in a plastic water bottle, covering everything from shading to reflections.

Step 1: Setting up the Scene
Before we dive into the specifics of rendering liquids in a water bottle, it's important to set up the overall scene. Choose a suitable environment for your water bottle, such as a hiking trail or a beach. This will not only provide context for the final render but also add depth and realism to the image. Next, position the camera in a way that showcases the bottle and its contents in the best possible light. Experiment with different angles to find the perfect composition.
Step 2: Modeling the Water Bottle
Assuming you already have a basic model of a water bottle, the next step is to modify it to fit your desired specifications. Begin by getting rid of any brand names or logos, as we don't want to infringe on any trademarked designs. Next, ensure that the geometry of the bottle is accurate, with the right thickness and curvature. Add a cap and any other details that your specific bottle has, such as ridges or grips.
Step 3: Creating the Liquid
For rendering a water bottle, we obviously need a liquid to fill it. Creating a realistic water material is easier than you might think. Start by choosing a blue hue that matches the color of water. Add some noise or turbulence to the material to simulate waves and ripples. Finally, adjust the reflectivity and transparency of the material to achieve the desired level of realism.
Step 4: Shading and Reflections
Now comes the fun part - making the liquid and bottle interact with light sources in a believable way. First, add a light source to the scene, such as a sun or lamp. Then, apply appropriate shading to the bottle and liquid. The bottle should have a reflective surface, with highlights and shadows that change depending on the angle of the light source. The liquid should refract light in a way that mimics water, appearing slightly distorted in certain areas.
Step 5: Finishing Touches
Once you're happy with the lighting and shading of the scene, it's time to add some finishing touches. Consider adding some additional props to the scene, such as a towel or a backpack, to further enhance the image. Adjust the camera settings, such as depth of field and aperture, to fine-tune the focus and blur. Finally, render the scene and review the results.
In conclusion, rendering liquids in a plastic water bottle is a great exercise in mastering the art of 3D modeling and rendering. By following the steps we've outlined here, you'll be able to create a stunningly realistic image that showcases your skills as a designer. So next time you're out traveling with your trusty water bottle, take a moment to admire its visual appeal as well.